
Showcased: June 4, 2010 at A-Kon 21
Tiffany: Noel Vermillion Christine: Rachel Alucard

well here goes nothing....
Noel Vermillion
Noel's costume looks really simple. As a first time costume and first time sewing project? it's so hard to make. the enormous height difference also meant i had to proportion her outfit to my size == skirt is super short >.< and stockings over the knee so i have the "ideal" thigh showing space....there's a japanese word for that that i don't remember lol and yes i wore hot shorts so sorry to those hoping i followed the artist's suggestions and make my panty color a surprise -_- boyssssss *smh*
no pictures on construction for the moment but i'll try to find some?
I probably spent upwards of $200 on this costume, including sewing supplies, unnecessary yards of fabric, wig and contacts. I researched her costume from other cosplayers, the dustloop artist's cosplay recommendations and different screenshots. The details on her costume are inconsistent, so i kept the ones i liked :P the only thing i didn't make were the white gloves (lucy in disguise ~$6) and the black stockings (christine's)
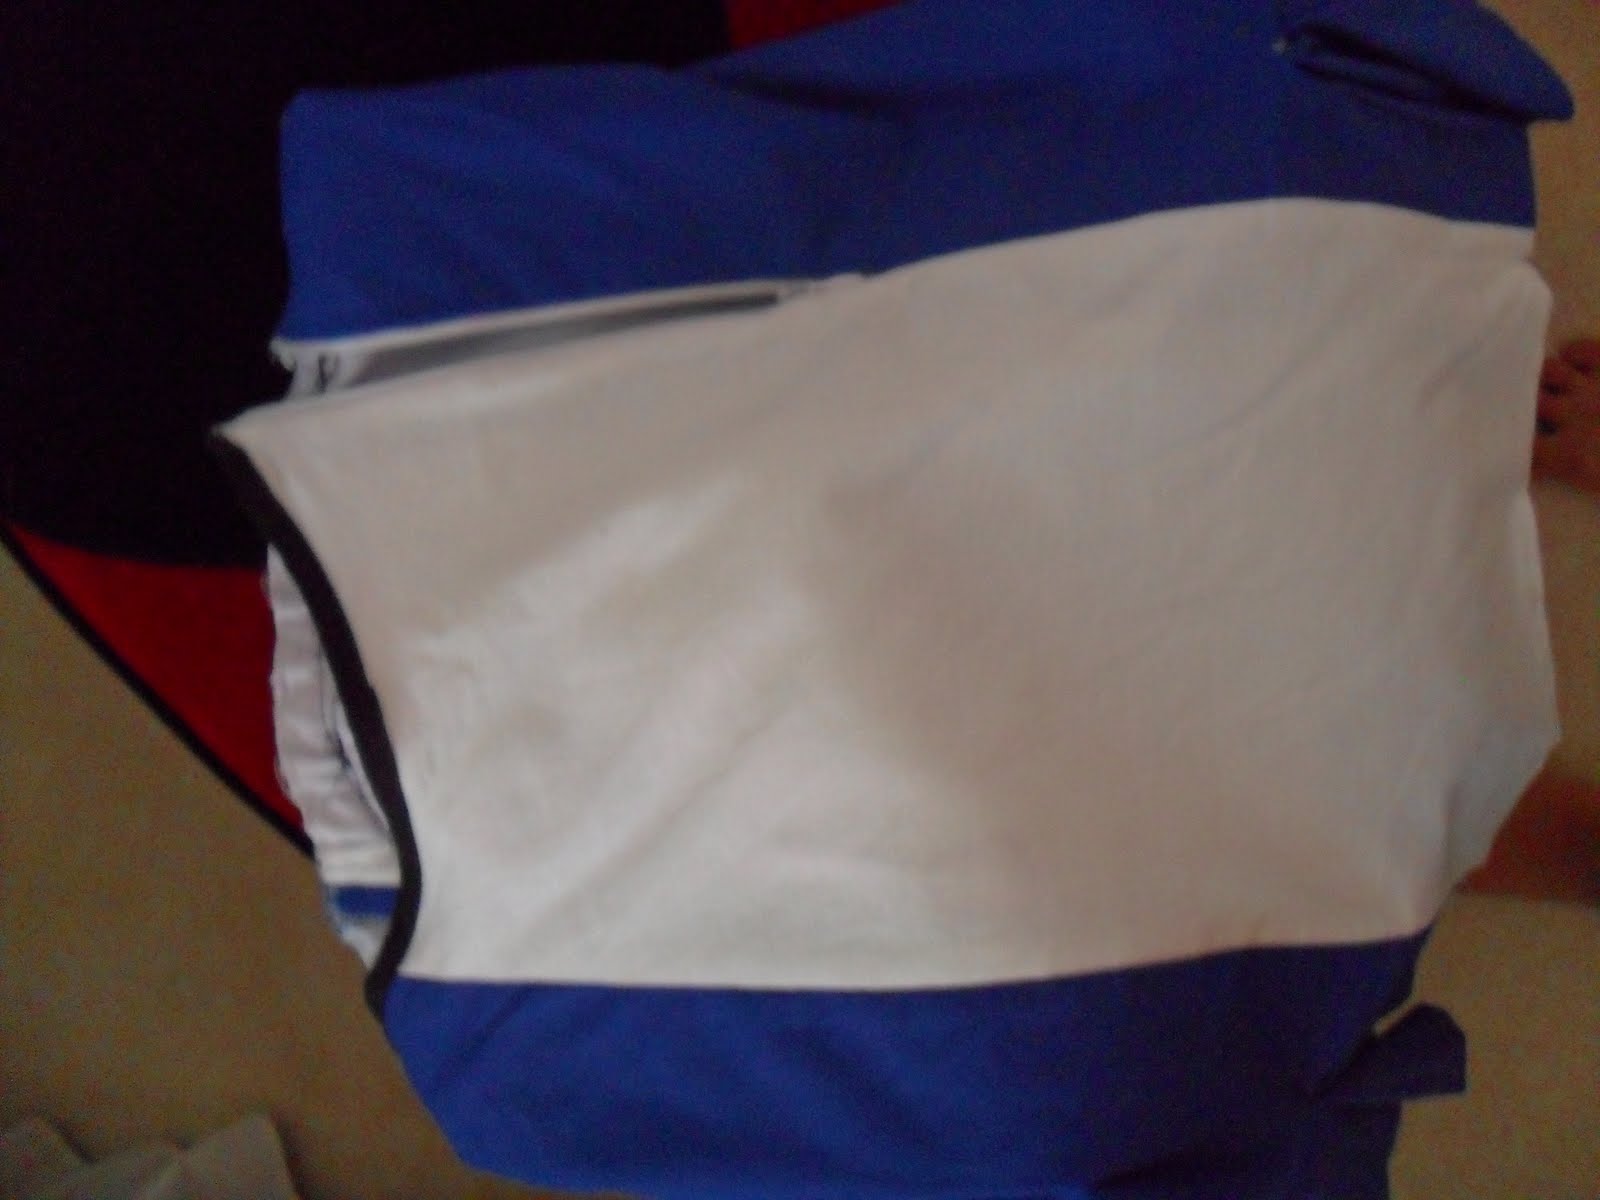
Similar to rosa-bella (see link above), i made the fitted dress mid-thigh with a princess cut at the bust because of the stretchy black material (i want to say yoga pant like material but i have no idea what that's called). The white shirt part is an old dress shirt i cut up and the hat follows a simple pattern. the marine blue and white sections are a heavyweight kona cotton. The pleats are added in rather than cut that way. The trim is black bias tape and yellow kona cotton cut on a bias. An invisible zipper runs along the back.
The sleeves were also made from the heavyweight cotton and fully lined. The shoulder and cuff parts are interfaced for stiffness. An elastic band was sewn in at the upper arm to keep the sleeve up and the gold buttons (#500,501) i bought from joann's.
i used the heavyweight cotton in three pieces with super stiff interfacing to make the boots. an invisible zipper runs up the back so i can put them on and an elastic band holds the boot covers to the boots (which i borrowed from christine). the cuff sections i added on later and the cross is double layered yellow kona cotton. although it was hellish to actually flip the pieces inside out after i sewed them together, the result looked great. if i had used paint (like the jin we saw at the con), there would have been cracking as i walked.
the red tie and arm ribbons are made from a dark satin material with a little sheen. The tie was made in two pieces; i first made the knot and then added the tie end and it fits around my neck via elastic band. The arm bands are about 3 foot long tubes that i ironed flat. decided against adding real tubes because that would've been really heavy on my arms but no matter what, things dangling off your body will inevitably get stepped on *sigh*

the metal pieces on my boot covers, arms, dress, ribbons and hat are made from craft foam that i cut approximately into the right shapes. the chains on my arms were made from baked clay that i strengthened with bead wire. used a matte silver metal spray paint to make it more realistic. note to self: use primer and a sealant layer next time lol

wig was from cosworx. color 24. awesome awesome wig :)
green contacts from acuvue color. they weren't green enough :( but my eyes are bad so i was cheapo and used spherical lenses with the right power. was recommended two sites, Dollyeye and Korea Big Eyes, for their doll-like and vibrant color contacts. will buy for my lightning costume for sure. for really special contacts, i found a special effects contact site: 9mmSFX. absolutely amazing lenses but also really expensive.
last thoughts on my costume: sloppy :( it looks great but it was definitely not fitted well and the dress on the inside is a mess. it needs to be lined and the hem fixed. will do better next time. need to finish my guns and i'll do a separate post on that later :)
next: Tifa Lockhart (advent children version) no wig! yay :)

Rachel Alucard
Ahaha... well, let's see if I remember any of this. I may have blocked the pain from my memory XP
Although this is not technically my first costume (my first cosplay was Hibari from Reborn, with all items purchased; my first fully-made costume was a variation on the White Queen from Tim Burton's Alice in Wonderland), this was the first time a made something based on someone else's design. So I'm going to go ahead and say it's also my first cosplay costume.
Rachel's costume... does not look simple. It consists of three layers on top and bottom. I have no idea how much I spent, but I probably spent a lot more than Tiffy did, simply because of the amount of cloth I had to use, and the fact that Rachel is a spoiled princess who uses high quality stuff.
I didn't really look at any other cosplayer's sites for how to make Rachel's costume, but I definitely took the artist's tips into mind and consulted the artbook pictures (which have since been taken down, so I can't link you, but feel free to leave a message if you'd like me to send them to you) for her costume a lot. My main problem was that the pictures have discrepancies (that is, I guess the artist couldn't quite decide what Rachel's outfit looks like), so I had a hard time piecing out how long or wide things should be relative to other parts of the costume.
Because of time (or lack thereof), I only made the main part of her costume and ignored the shoes and accessories (Nago and Gii, her shape-shifting cat often seen as an umbrella and her fluffy demon slave thing). I will hopefully be making the accessories for the next con; we'll see. For her shoes, I wore a pair of platforms I bought a long time ago. If I had made them, I would have used a hollow wooden base painted silver, with stiffened suede on top, since they are actually rocking horse shoes (platforms with the heel cut out).
According to the artist tips, Rachel's costume is a mix of silk and leather. I used neither in my costume. Silk is very expensive ($15+ a yard) and impossible to wash; leather is the worst thing to be wearing from head to toe in the middle of summer here. Instead, I used Casa Collection satin in white, black, and red.
Top - Layer 1 (Undershirt)
Although you can barely see it in any picture, Rachel wears a white, collared, sleeveless shirt with ruffles down the front and along the shoulders. I used white satin for all of this. As a pattern, I used a slightly modified dress shirt pattern (I modified it by removing the sleeves; I used a pattern with sleeves so I could use the same pattern for the jacket). For easy removal, I put an invisible white zipper up the front, and two hook-and-eye clasps at the throat (because the zipper wasn't long enough). I added the ruffles at the end -- just sewed a strip of white satin about twice the length I needed, then folded them over and under to make the ruffle shape.

Top - Layer 2 (Jacket)
I would say that the jacket was one of the hardest bases to make in my costume, because it's two-toned and has an odd shape. The top part and the sleeves are a darker black, and the bottom part is lighter black. To create the two tones, I just used the fact that the inside of the satin, unlike other materials like cotton, is different from the outside. For the darker parts, I used the outside (correct side) of the satin, and for the lighter part, I used the inside (wrong side). Again, I used a more heavily modified version of a dress shirt pattern, removing the collar and estimating the places where the tones started/ended. I also extended the bottom of the jacket to make the V-shapes in the front and back.. The back came out a little too short, though (because my skirt is extra poofy). Note that the line down the back of the jacket is deliberate.


The sleeves gave me a lot of trouble; at first, I tried to do it as one whole piece, but the top half of the sleeve is slim (above the elbow), while the bottom half flares out and is very wide. I ended up having to sew two separate pieces together -- one straight sleeve for the top half, and then a semi-circle for the bottom half -- which makes a noticeable line, but oh well.
The ruffles on the bottom of the jacket were just shapely lace, while the ruffles on the sleeves are actually white satin (same cloth as the shirt). For the decorations on the sleeves, I used red satin and white satin ribbon. I had to use some cheap cloth to draw out a shape first. The pattern of the decoration turned out to be a circle-shaped strip of cloth centered at the red arrow shape. All of it was one cloth. The white edges of the decoration were a thick, shiny white satin I got cheaply at Michael's (it was on sale), folded over twice and tucked between the red and black satin on the sleeve. At each corner, I cut the ribbon diagonally and matched up the sides with the next strip of ribbon. Uh, this doesn't make much sense... Beware that satin likes to do its own thing, so most of my decorations came out sort of wavy-looking instead of nice and flat.

I purchased some fancy buttons for the white spots on her sleeves, and used the same buttons for the spots on the cape (description below). I put a black zipper up the front of the jacket, and then used red oval-shaped buttons from a special button store as the red decorations in front. I was trying to be as true to the original as possible; I've seen others use just a strip of red cloth, but I don't think that looks as good.
Top - Layer 3 (Cape)
My very bad pattern for the cape consisted of me wrapping newspaper around my shoulders and guessing the shape. Capes are basically a semi-circle, or a very big piece of pie, with the tip cut out for your neck. For the collar, I measured a trapezoid shape, where the short side is the same length as the neck part of the cape, and the long side allows the collar to extend out on my face. In retrospect, I should have used more of a rounded shape for at least the short side (to fit into the circular shape of the cape base better). I cut the trapezoid with the long side against the cloth fold so that it would be correct side out on both the inside and outside of the collar, then lined it with interfacing so it would be stiff and stay up.
The cape was the same black satin (correct side) with red satin and white satin ribbon as decorations, same as the jacket. I actually used gift tissue paper to trace the pattern on top of the cape base, since the tissue paper is see-through. The decoration consisted of several parts: the main cross in the back, the circle underneath, the two crosses on each side, and the red strip around the neck. For each part, I cut the red out, then edged the red with the white, and then arranged it on top of the cape. I sewed the whole thing on at once. The red strip around the neck extends further than the cape so I can clasp it together at the front without the cape covering my front. The red bow was messily done, but I sewed clasps onto the back of the bow so I could remove it from the cape or attach it on. Again, fancy white buttons on the back of the cape.
Bottom - Layer 1
The bottom layer 1 should be black bloomers, which I didn't make. I bought black cotton for them, though. and I'll hopefully make them sometime soon. I would have used a bloomer pattern from my Gothic & Lolita Bible magazine, but it's not difficult to find a bloomer pattern. Think of them as really wide shorts that you just add elastic to.
Bottom - Layer 2
Underneath the really poofy skirt is actually a hoop skirt, not a petticoat. (A hoop skirt is one layer of cloth that maintains its shape by using rings of something stiff, like wire; a petticoat maintains its shape with multiple layers of cloth, typically something stiff like tulle, that add up to be poofy.) I used this tutorial to make the hoop skirt. I just used a cheap, slick material (forgot what it's called), since you can't see it, and I used 1/4" white PVC pipes instead of soaker hose. (It's actually lighter.) I made the hoop skirt shorter than the actual skirt and then added a very wide layer of white satin ruffle to the bottom (this ruffle shows up, as it extends longer than the skirt).

Bottom - Layer 3
Second most difficult base, because it has a really weird shape. I used my extra material, pinned it to the hoop skirt (which I propped up on a bunch of moving boxes, by the way), and cut out an approximate shape. Black satin again, correct side out for the sides and back (all one piece). The front three triangles were wrong side out (lighter black), and lined on the bottom edges with the correct side out as trim. I used the white satin for the ruffles on the bottom two triangles.


The decorations were also difficult. By the way, the red parts of her skirt are, according to the artist's tips, a kumori (bat) wing variant, which means that they change shape at will. Good luck getting that to work. No, I used satin and just used the most commonly seen shape. Again, red satin, but on black satin ribbon this time. I sort of made it up very quickly at the end, so the inside sewing is bad, and the long parts in the front tend to flip out because I didn't sew the very front edges of the red "wings" on (in order to make it more flowy-looking). The red crosses are actually sewed on top of white crosses (because I ran out of ribbon), and then sewn onto the skirt. (That's easier than sewing ribbon, so I probably won't be using ribbon anymore... although it wastes a lot of cloth.)
Accessories - Hair ribbons (bunny ears)
Probably what seems like a very difficult part, because it is important that the ribbons stand up and come to a point, says the artist. Well, it wasn't actually that hard, just a bit difficult to make it keep its shape. I'll have to think of something a bit sturdier.
Two pieces of black satin for each ear (a total of 4 -- 2 long ones in the front, 2 short ones in the back). I just sort of cut out an ear and then stuck it on my head and looked in the mirror for proportions. I cut it in a sort of long oval shape, with one pointed end and one flat end that is wider than it looks (so I could fold it to make that crease in the middle). The inside was lined with stiff interfacing, which is sufficient to make it stand up and come to points. I attached each ear to a piece of black felt (because I was lazy and rushing), which I then sewed to a piece of black elastic. To attach the ears to my head, I wrapped the elastic around the pigtail and clasped it at the bottom. Sufficient, but the ears tended to fall over or not be correctly aligned, so I constantly had to fix them during the convention =\
Accessories - Hair, eyes, and makeup
Rachel's hair is long. Really, really long. Most wigs don't come that long. Mine was 150 cm, but I had to trade length for quality, and I will not be making that mistake again. I purchased my wig from Milanoo, a wholesale dealer from China. Check out their site; they have some nice designs and interesting things. But I will never purchase from Milanoo again. First of all, their prices swing around wildly with no warning and no apparent reason. So you might end up like me and end up paying $20 more than you should have for the wig. Second, their customer service representatives, while polite, are completely clueless and mostly unhelpful. Also, they take forever to ship (I didn't get mine for like a month and a half), although that may be because they're overseas... but I doubt it.
Oh, and most important reason -- their wig quality is total crap. Mine tangled almost instantly, which is not unexpected given the length. But the strands were very thin and dry, and I could NOT get it to untangle almost at all. Also, the wig cap is very small and, it looks like, cheaply made. I will definitely, definitely be getting my wig from Cosworx or ImageAnime next time. They are both within the U.S., and their wig quality is amazing. ImageAnime's wigs feel like real hair. Actually, they feel better than my hair XD
Okay, sorry, enough carping. Back to the costume. To style the hair, I used this tutorial on zigzag parts to hide most of the netting on the wig, and we used knee-high pantyhose as wig caps. Because my wig was evil, I styled it on Tiffy's head with a combination of a comb, clips (to hold up the pigtails), and scissors (to cut the tangled parts).
For eyes, I went to my eye doctor and asked to get red contacts. The only red contacts you can get from your eye doctor are WildEyes Red Hot contacts... but don't bother. They are very expensive (about $80 per contact), and if you have bad eyes like me, you'll have to wear double contacts, because the prescription only goes up to 6.00 spherical. I guess that's fine, but also, they came out more orange than red and the opening for the pupil is very small (so I could see a red ring around my vision the whole time). At the moment, I would recommend getting these red contacts, although I have not purchased them myself. They're cheaper, though. Not sure if they're better.
Lastly, Rachel is dead (she's a vampire), so she's, of course, deathly pale. If your complexion is very fair, you don't really need to worry about makeup. For me, I'm naturally a lighter shade of Asian color, so I employed the use of a white powder made by L'Oreal. Geisha makeup, if you can get it, would work. Otherwise, if you're not keen on or don't really care that much about being as pale as Rachel is, you can just use a light ivory powder, or ivory liquid foundation with ivory powder on top. (I think the combination makes you paler.)
Next is Aerith Gainsborough... hopefully much easier than Rachel's XD


I think that about wraps it up... uh, this is really long XD Sorry guys, hope it was informative, though.
No comments:
Post a Comment